No edit summary Tag: Visual edit |
mNo edit summary Tag: Visual edit |
||
| Line 29: | Line 29: | ||
! colspan="1" style="text-align:center; background-color:white; border:2px solid #2bbae1" |[[Harumi Hijikawa]] |
! colspan="1" style="text-align:center; background-color:white; border:2px solid #2bbae1" |[[Harumi Hijikawa]] |
||
! colspan="1" style="text-align:center; background-color:white; border:2px solid #2bbae1" |[[File:John-G.jpg|200px|center]] |
! colspan="1" style="text-align:center; background-color:white; border:2px solid #2bbae1" |[[File:John-G.jpg|200px|center]] |
||
| − | | colspan="1" style="text-align:center; background-color:white; border:2px solid #2bbae1" |Satomb S3 |
+ | | colspan="1" style="text-align:center; background-color:white; border:2px solid #2bbae1" |Satomb S3 8Flow Press |
| colspan="1" style="text-align:center; background-color:white; border:2px solid #2bbae1" |BeyTrainer |
| colspan="1" style="text-align:center; background-color:white; border:2px solid #2bbae1" |BeyTrainer |
||
| colspan="1" style="text-align:center; background-color:white; border:2px solid #2bbae1" |Active |
| colspan="1" style="text-align:center; background-color:white; border:2px solid #2bbae1" |Active |
||
| Line 41: | Line 41: | ||
! colspan="1" style="text-align:center; background-color:white; border:2px solid #2bbae1" |[[Gumita]] |
! colspan="1" style="text-align:center; background-color:white; border:2px solid #2bbae1" |[[Gumita]] |
||
! colspan="1" style="text-align:center; background-color:white; border:2px solid #2bbae1" |[[File:Beyblade Gumita.png|center|220x220px]] |
! colspan="1" style="text-align:center; background-color:white; border:2px solid #2bbae1" |[[File:Beyblade Gumita.png|center|220x220px]] |
||
| − | | colspan="1" style="text-align:center; background-color:white; border:2px solid #2bbae1" |Noctemis N3 |
+ | | colspan="1" style="text-align:center; background-color:white; border:2px solid #2bbae1" |Noctemis N3 2Glaive Unite |
| colspan="1" style="text-align:center; background-color:white; border:2px solid #2bbae1" |Member |
| colspan="1" style="text-align:center; background-color:white; border:2px solid #2bbae1" |Member |
||
| colspan="1" style="text-align:center; background-color:white; border:2px solid #2bbae1" |Active |
| colspan="1" style="text-align:center; background-color:white; border:2px solid #2bbae1" |Active |
||
Revision as of 17:13, 23 March 2019
The Wild Bey Gang, also known as the Rebel Bey Club (KANJI, ROMAJI) in Japan, is a team featured in the anime/manga series, Beyblade Burst Turbo.
Members
| Member | Image | Beyblade | Role | Status |
|---|---|---|---|---|
| Ranjiro Kiyama | 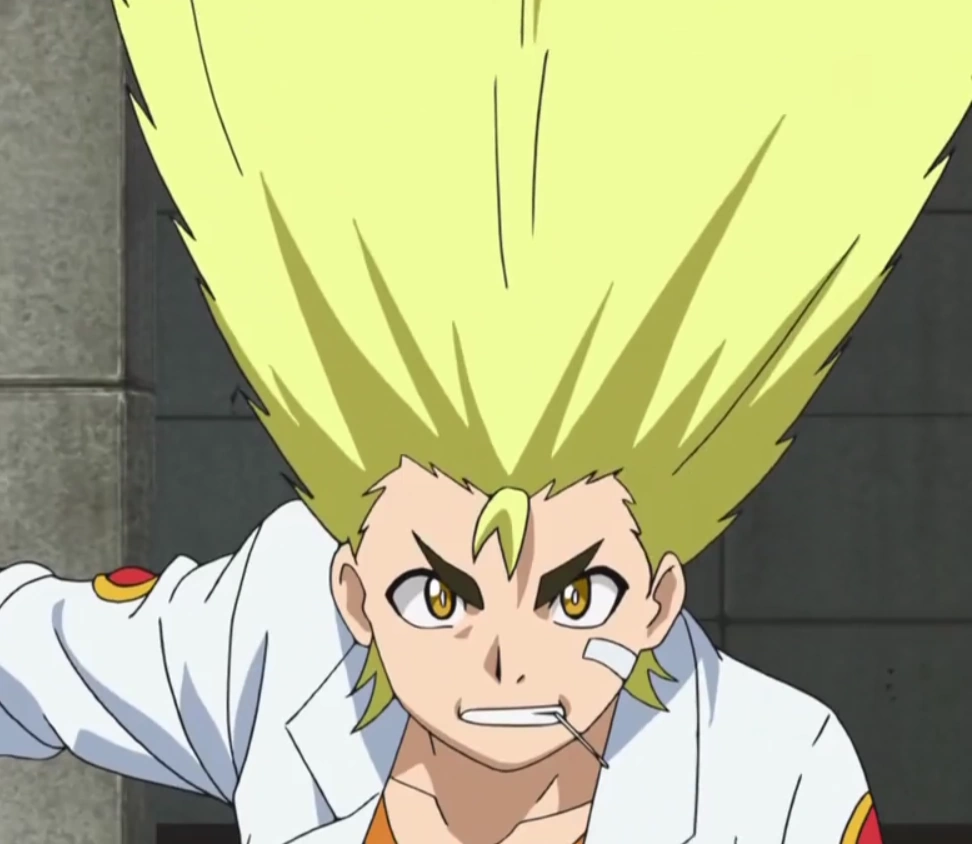 |
Roktavor R4 11Reach Wedge | Leader | Active |
| Harumi Hijikawa |  |
Satomb S3 8Flow Press | BeyTrainer | Active |
| Tobisuke |  |
Cognite C3 4Flow Jaggy | Member | Active |
| Gumita | 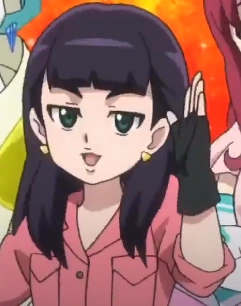 |
Noctemis N3 2Glaive Unite | Member | Active |
| Jonji | [[File:|200px|center]] | Caynox C3 7Under Flugel | Member | Active |
| Benimaru | 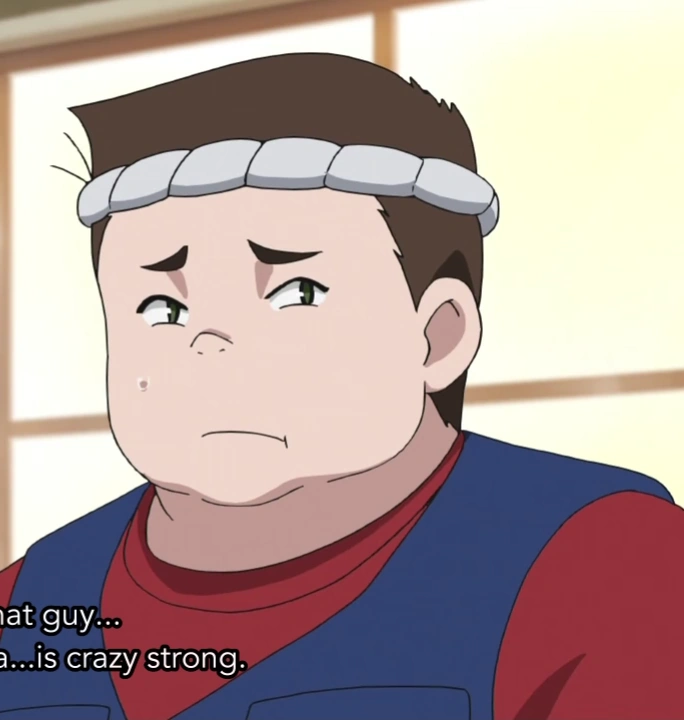 |
Regulus R3 2Bump Needle | Member | Active |
Biography
Achievements
| Event | Result |
|---|---|
Gallery
Trivia
- The majority of this club's members were originally part of the Beigoma Academy BeyClub, before they defected to this club after being impressed by Ranjiro's blading skills.
- Their team logo appears to be a flame decal as it's shown on most of the members' clothing.